
How to Polish Concrete Floors: Process, Finishes and Common Mistakes
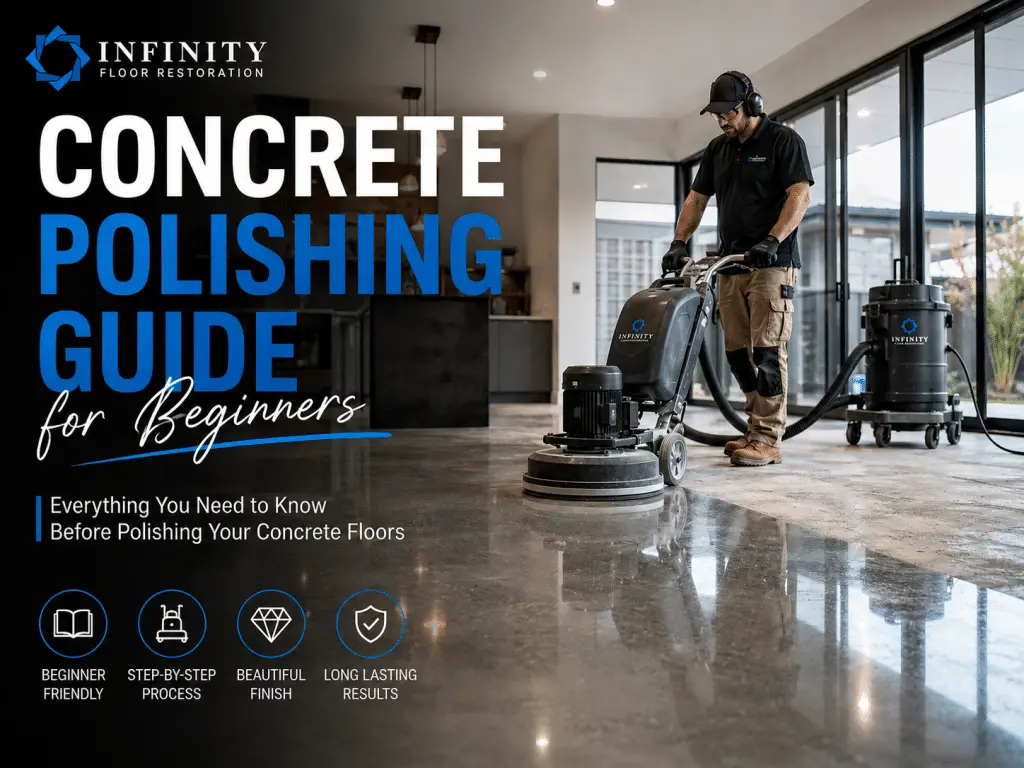
To polish concrete floors, the slab is assessed and prepared, ground with coarse metal-bond diamonds, repaired, refined with progressively finer abrasives, treated with a densifier where suitable, then honed, polished and protected. The finish is set by how deep the grinding goes and how fine the final abrasive is.
Knowing how to polish concrete floors starts with understanding that the shine comes from grinding, not from a coating. Grinding and polishing concrete uses progressively finer diamond abrasives to remove material, refine the surface and bring up the sheen. Unlike a grind and seal floor, polished concrete does not rely on a topical coating for its look. This guide explains the process, the finishes, the tools, the mistakes to avoid and when a professional is the better choice.
What Is Concrete Polishing?
Concrete polishing is a multi-staged mechanical process that uses diamond-embedded abrasives, run in progressively finer stages, to smooth and refine a concrete surface until it reaches the required sheen. Depending on the slab and the stages used, a chemical densifier may also be applied to harden the surface.
Not every smooth or shiny concrete floor has actually been mechanically polished. A floor that has been ground and coated with a topical sealer can look glossy too, but it is a different system with different maintenance needs. For the service itself, see our concrete polishing page.
Concrete Grinding vs Honing vs Polishing vs Grind & Seal: What's the Difference?
Grinding removes material and flattens or prepares the surface. Honing continues refining it with finer abrasives to bring down the scratch pattern and set a lower sheen. Polishing carries that mechanical refinement further again, to reach the required smoothness and reflectivity. Grind and seal takes a different path: the surface is ground, then finished with a topical coating, so the final look and feel depends heavily on that coating rather than on the concrete itself.
| Process | Purpose | Result |
|---|---|---|
| Concrete grinding | Remove coatings, flatten and prepare | Coarse to refined surface |
| Concrete honing | Progressively refine the surface | Smooth, lower-sheen finish |
| Concrete polishing | Continue mechanical refinement | Smooth to highly reflective |
| Grind and seal | Grind, then apply a topical coating | Matte, satin or gloss, depending on coating |
These terms get used interchangeably, but they describe different stages. Neither polishing nor grind and seal is universally better. The right choice depends on your existing slab, the look you want, how the space is used and your maintenance expectations.
What Finish Can You Achieve with Polished Concrete?
Polished concrete aggregate exposure and sheen are the two visual decisions when choosing a finish, and they are independent of each other.
Concrete Aggregate Exposure Levels
The depth of grinding determines how much stone within the slab becomes visible.
- Cream finish: Minimal grinding leaves little or no aggregate exposed. The result depends heavily on the original slab placement and finishing quality.
- Salt-and-pepper exposure: Light grinding reveals fine aggregate for a subtle decorative appearance.
- Medium exposure: Deeper grinding exposes more stone and creates a stronger decorative character.
- Full exposure: Significant grinding reveals larger aggregate for a bold, distinctive finish.
Deeper exposure removes more material, so the slab must be thick and sound enough to take it.
Polished Concrete Sheen Levels
Sheen ranges from a practical low-sheen finish through satin and polished up to high gloss, which needs the greatest degree of surface refinement.
| Sheen level | Appearance |
|---|---|
| Low sheen | Subtle reflection |
| Satin | Soft light reflection |
| Polished | Clear reflectivity |
| High gloss | Highly reflective |
Can Your Existing Concrete Floor Be Polished?
Many existing concrete floors can be polished, but it depends on the slab's condition, any previous treatments and how much repair work it needs. Cracks, old adhesives, paint, coatings, oil staining and general unevenness all affect what is achievable and how much preparation is required first.
It is worth setting realistic expectations too. An existing slab will not always polish up to look exactly like a reference photo, because the original concrete mix, aggregate distribution and any past repairs all influence the final result. A proper on-site assessment before work begins is the only reliable way to know what your floor can achieve.
How to Polish Concrete Floors: Step-by-Step Process
The exact process varies according to the slab's condition, hardness, existing coatings, required aggregate exposure and desired sheen. However, the following nine stages set out the polished concrete floor process and explain how to polish concrete floors professionally, with grinding and polishing concrete working together as one sequence.
Step 1. Choose the Required Tools and Equipment
Professional concrete floor polishing typically requires a planetary floor grinder, an edge grinder, an industrial dust extraction system and appropriate diamond tooling. Depending on the floor, concrete repair products, densifier, protective treatments and burnishing equipment may also be needed.
| Tool or material | Purpose |
|---|---|
| Planetary floor grinder | Grinding, honing and polishing main areas |
| Edge or hand grinder | Working around edges and corners |
| Metal-bond diamonds | Initial grinding and surface preparation |
| Resin-bond abrasives | Honing and refining the concrete |
| Industrial dust extractor | Controlling dust during grinding |
| Repair products | Treating suitable cracks and surface defects |
| Concrete densifier | Supporting surface hardening and polishing |
| Burnisher and pads | Enhancing the final finish where required |
Simply hiring a grinder is not enough. Concrete hardness, coatings, aggregate exposure and desired sheen influence the choice of machinery and abrasives.
Step 2. Assess the Concrete Slab
Inspect the floor for coatings, contamination, cracks, damage and uneven areas. The assessment determines the preparation needed and which finishes are realistic for that slab.
Step 3. Prepare the Area and Remove Existing Flooring
Carpet, tiles, adhesives, paint and old coatings may need removal before the concrete can be ground.
Step 4. Complete the Initial Concrete Grinding
A floor grinder fitted with suitable metal-bond diamond tooling removes surface irregularities and unwanted coatings. Grinding may also expose aggregate where required. The starting grit varies according to the floor. For a deeper look at this stage, read our guide to concrete grinding in Perth.
Step 5. Repair Cracks and Surface Imperfections
Suitable cracks, holes and surface defects are repaired using products compatible with the polishing system. Existing cracks cannot always simply be removed, so realistic expectations matter. Repairs may remain faintly visible, particularly at high sheen.
Step 6. Continue Grinding and Refining
Progressively finer abrasives refine the surface and remove scratch patterns left by earlier stages.
Step 7. Apply Concrete Densifier Where Appropriate
A concrete densifier penetrates the surface and chemically reacts within the concrete to help increase surface hardness and support further polishing.
Step 8. Hone and Polish the Concrete
Resin-bond abrasives progressively refine the floor until the desired sheen is achieved. There is no universal grit sequence because each slab and finish has different requirements.
Step 9. Apply Final Protection and Buff Where Required
Depending on the polishing system and intended use, suitable stain protection or other compatible treatments may be applied before final burnishing and inspection.
What Grit Is Used to Polish Concrete?
There is no universal grit sequence for polishing concrete floors. The appropriate starting and finishing grits depend on the slab condition, concrete hardness, coatings, required aggregate exposure and desired sheen.
Coarse abrasives are generally used for initial grinding and preparation, which is the same preparation work covered in our guide to preparing surfaces by grinding. Progressively finer abrasives then refine scratch patterns, hone the surface and increase clarity and reflectivity. The important principle is progression: each stage should properly prepare the floor for the next rather than following one fixed sequence for every project.
How Do You Seal and Protect Polished Concrete?
Polished concrete does not always need a sealer, but a protective treatment is often used to help resist staining. Where a sealer is used, the choice matters. Penetrating sealers protect from within the slab, while topical sealers sit on the surface and wear over time.
Outdoor areas need a UV-resistant product. The concrete must be fully cured before sealing, and the sealer must be compatible with any stain or dye already applied. Follow the product instructions and test a small hidden spot first. Our guide to the best sealer for polished concrete floors compares the options in more detail.
Can You Polish Concrete Yourself?
DIY concrete polishing is possible for small, straightforward areas. A consistent, genuinely polished finish, however, depends on specialised machinery, the right diamond tooling, effective dust control and experience reading how a slab responds as you go.
| Consideration | DIY | Professional |
|---|---|---|
| Equipment | Hired, limited options | Commercial-grade machinery |
| Finish consistency | Harder to control | Greater process control |
| Dust management | Requires your own controls | Established systems |
| Best suited to | Small, simple areas | Larger or finish-critical floors |
Concrete grinding produces respirable crystalline silica dust, which is a recognised health hazard covered by Australian work health and safety rules. Whether you hire equipment or do the work yourself, dust extraction and personal protective equipment (PPE) are not optional. WorkSafe WA provides current information about respirable silica dust, which should be read before any grinding works.
What Affects the Cost of Polishing Concrete?
The cost of polishing concrete depends on floor size, slab condition, repairs, coating removal and the finish you want, so two floors of the same size can be quoted very differently. For a full breakdown of what drives the price, see our guide to polished concrete floor costs.
6 Common Concrete Polishing Mistakes
- Failing to assess the slab. Unidentified cracks or contaminants surface as defects once the floor is polished.
- Using the wrong diamond tooling. An inappropriate diamond bond or grit for the slab slows the work and can damage the concrete surface.
- Skipping grit stages. Each stage should thoroughly remove the scratch marks from the previous one, or those marks remain in the finished floor.
- Not addressing cracks or contaminants. They prevent proper densification and show up as patchy areas.
- Neglecting dust control. Remaining dust is a health risk and interferes with the finishing process.
- Expecting every slab to look the same. Aggregate distribution and past repairs affect the finish, so results vary from floor to floor.
How to Maintain Polished Concrete Floors
Clean the floor by sweeping or dust mopping regularly. Use a pH-neutral cleaning agent with a damp mop as required. Avoid harsh and acidic chemicals unless they are recommended for your specific floor finish, and use entrance mats to reduce grit coming onto the floor.
Wipe up spills straight away. For tougher stains, use a pH-neutral cleaner and water with a soft brush. If the floor loses its shine, speak to a professional about whether it needs re-polishing or a protective treatment.
Get Your Concrete Floor Assessed in Perth
Not sure whether your existing slab is suitable for polishing or which finish to choose? Infinity Flooring is Perth based and grinds, hones, polishes and seals concrete, and also restores natural stone. Explore our polished concrete service, then request a free on-site quote and we will assess your floor and explain the options, or call us on 08 9468 0798.
FAQs About Polishing Concrete
How long does it take to polish concrete?
The time to polish concrete depends mainly on the size of the floor, its condition and the finish required, so no single duration fits every job. Existing coatings, adhesives, cracks and repairs add stages, and deeper aggregate exposure or a higher sheen needs more passes with finer abrasives. A Perth professional can give a realistic timeframe after seeing the slab. However, rushing the grit stages usually shows in the finished floor.
Can you polish any concrete mix or an existing slab?
Most sound concrete slabs, new or existing, can be polished, but the result depends on the original concrete mix, aggregate distribution and surface condition. Softer or patchy concrete may need extra densifier or repairs, and a slab with heavy staining or past patching may not look uniform once polished. An on-site assessment is the reliable way to confirm what a particular slab can achieve. However, polished concrete will not always match a reference photo.
Can you polish a garage floor?
Yes, a concrete garage floor can usually be polished if the slab is sound and the surface is properly prepared. Oil staining, old paint or epoxy coatings, cracks and joints all need assessing first, because they affect how much preparation is needed and how even the finish looks. Slip resistance and vehicle use should also be considered when choosing the sheen. However, deep oil stains may remain faintly visible after grinding.
How do you make polished concrete non-slip?
Polished concrete can be made more slip resistant by choosing a lower sheen and, where needed, applying an anti-slip floor treatment suited to the floor. Contamination, moisture and how the area is used also affect slip risk, so wet, oily or dusty areas carry more risk. A Perth professional can recommend a treatment after checking the space. Test any treatment in a small hidden area first, as results vary by product and surface.
What is the difference between mechanically polished concrete and grind and seal?
Mechanically polished concrete gets its sheen from progressively finer diamond abrasives, while grind and seal gets its look from a topical coating applied over ground concrete. Polished concrete does not depend on a surface coating for its shine, whereas a grind and seal coating sits on top and can wear over time. The better choice depends on the slab, the look wanted and the maintenance expected. However, a protective treatment may still be used on polished concrete.
What is salt and pepper concrete polish?
Salt and pepper concrete polish is a finish where light grinding exposes fine aggregate, giving the floor a speckled look with small flecks of stone through the cream surface. The pattern depends on the aggregate already in the slab, so two concrete floors ground to the same depth can look different. It sits between a cream finish and medium or full exposure. However, grinding cannot add aggregate that the slab does not contain.
Can you do DIY concrete polishing?
Yes, you can polish a small, simple concrete area yourself, but a consistent, genuinely polished finish usually needs specialised machinery, dust control and experience. Hired grinders, the right diamond tooling and careful grit progression all affect the result, and skipped stages show in the finished floor. However, grinding creates fine dust, so dust extraction and protective equipment are essential.
Is it expensive to polish concrete?
The cost of polishing concrete varies with the size of the floor, its condition and the finish required, so it is hard to judge without assessing the slab. Coating removal, crack repairs, site access, aggregate exposure and sheen level all change the amount of work involved. A Perth professional can quote after an on-site inspection. However, comparing quotes is only fair when they list the same stages and the same finish.